
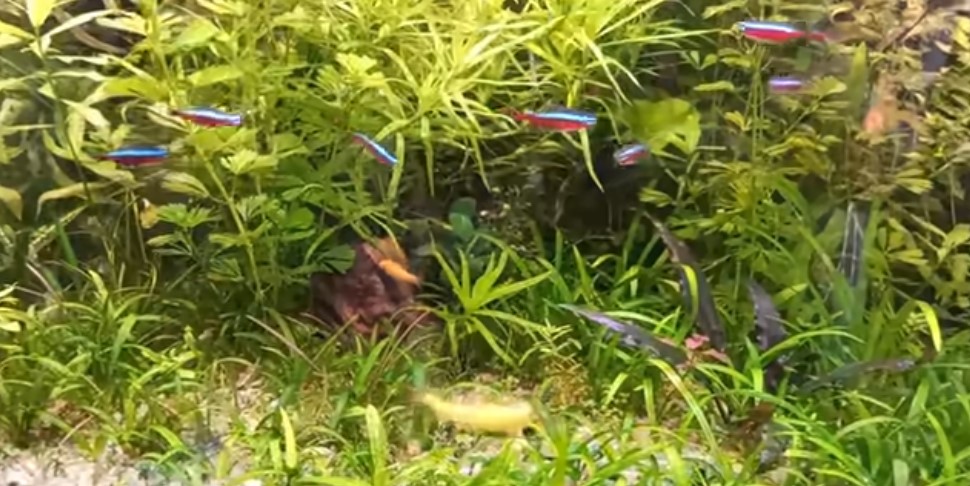
A clean fish tank is more than just an aesthetic centerpiece; it is the fundamental prerequisite for a healthy, thriving aquatic ecosystem. For many aspiring aquarists, the maintenance process can seem daunting—a mysterious chore involving siphons, algae scrapers, and a fear of disrupting a fragile balance.
However, with the right knowledge and a systematic approach, routine cleaning becomes a simple, meditative act of care that ensures the longevity and vibrancy of your underwater world.
This guide moves beyond a simple step-by-step list. It will delve into the why behind each task, provide detailed instructions for both freshwater and saltwater systems, and equip you with the knowledge to create a sustainable maintenance routine that prevents problems before they start. A clean tank is a stable tank, and stability is the ultimate goal of successful fishkeeping.
Part 1: The Philosophy of Cleaning: Stability Over Sterility
The most critical concept to grasp is that your goal is not to create a sterile, hospital-like environment. In fact, attempting to do so would be disastrous. The beneficial bacteria that process fish waste (the nitrogen cycle) reside primarily in your filter media and substrate. Over-cleaning can destroy this delicate biofilter and cause “New Tank Syndrome,” a dangerous spike in toxic ammonia.
The true goal of cleaning is threefold:
- To Remove Physical Waste: This includes fish excrement, uneaten food, and decaying plant matter.
- To Remove Dissolved Waste: This is primarily nitrate, the end product of the nitrogen cycle, which is diluted through water changes.
- To Control Algae Growth: Algae is a natural part of any ecosystem, but we manage it to ensure it doesn’t overwhelm the tank and outcompete plants for resources.
Your cleaning routine should be a gentle process of curation, not eradication. You are a gardener tending to an ecosystem, not a janitor sanitizing a room.
Part 2: The Essential Toolkit: Assembling Your Arsenal
Before you begin, gather all necessary supplies. Having everything on hand makes the process efficient and minimizes stress for both you and your fish.
- Gravel Vacuum/Siphon: The most important tool. This is a hose with a wide tube that uses gravity to siphon water out of the tank while pulling debris from the substrate.
- Clean Buckets: Designate at least two 5-gallon buckets for aquarium use only. Never use buckets that have held soap, chemicals, or other household cleaners. Label them clearly: one for holding new water, one for waste water.
- Algae Scraper or Pad: Choose one appropriate for your tank material. Magnetic cleaners are excellent for glass tanks to avoid getting your arms wet. For acrylic tanks, use a pad specifically designed to prevent scratching.
- Filter Media: Having spare filter floss or sponges on hand is wise. However, remember that your main biological media (ceramic rings, bio-balls) should rarely, if ever, be replaced.
- Water Conditioner/Dechlorinator: This is non-negotiable. Tap water contains chlorine or chloramines that are lethal to fish and beneficial bacteria. A conditioner instantly neutralizes these chemicals.
- Aquarium-Safe Glass Cleaner (optional): For wiping the outside of the glass and the hood. A simple vinegar-and-water solution works well, but ensure no spray enters the tank.
- Towel or Spill Mat: For managing the inevitable splashes.
Part 3: The Step-by-Step Cleaning Protocol
Perform this routine every 1-2 weeks. The frequency will depend on your tank’s bioload (number and size of fish), the efficiency of your filter, and whether you have live plants.
Step 1: Preparation and Safety
- Unplug Everything: For absolute safety, unplug all electrical equipment: heaters, filters, and lights. A drop of water can easily damage electrical components or cause a shock hazard. (Note: It’s easier to unplug the entire power strip the tank is connected to).
- Prepare New Water: Fill your clean bucket with tap water. Treat it with the correct dose of water conditioner and adjust its temperature to closely match that of your aquarium. A digital thermometer is helpful here. This prevents thermal shock to your fish when adding the new water.
Step 2: Clean the Interior Glass
- Why now? Cleaning the glass before disturbing the substrate allows you to see what you’re doing during the water change.
- How: Use your algae scraper or pad to remove algae from the inside of the glass. Gently scrape in long, smooth motions. For stubborn spots, you may need to hold the blade at a 45-degree angle. For magnetic cleaners, move the outer magnet slowly to guide the inner pad.
Step 3: The Water Change and Substrate Cleaning (The Core Process)
- How Much to Change? A 10-25% water change is standard for a routine cleaning. In a heavily stocked tank, you may need to change up to 50%. Never change more than 50% at once unless dealing with a severe emergency, as large swings in water parameters can shock fish.
- Using the Gravel Vacuum:
- Place your waste water bucket on a surface below the water level of the tank.
- Submerge the vacuum tube completely in the tank to fill it with water.
- Quickly place your thumb over the end of the hose and move it to the bucket. Release your thumb to start the siphon.
- Push the wide end of the vacuum into the substrate. Gravel will tumble, releasing trapped debris, which will be sucked up the tube. The heavier gravel will fall back down, while the lighter waste will travel into the bucket.
- Methodically work your way across the tank, focusing on areas with visible waste. In planted tanks, be more careful around plant roots to avoid disturbing them.
Step 4: Clean Decorations and Hardscape
- Only if Needed: If decorations, rocks, or driftwood are covered in algae, remove them from the tank for cleaning.
- How to Clean: Use a clean algae pad or a soft-bristled brush to scrub them. Never use soap or chemical cleaners. If hot water and scrubbing aren’t enough, you can use a diluted bleach solution (1 part bleach to 20 parts water) for a 15-minute soak, followed by a thorough rinse in dechlorinated water and complete air drying. This is a last resort.
Step 5: Maintain the Filter (The Most Misunderstood Step)
- Timing: Clean your filter media during water changes. This way, if you accidentally kill a few bacteria, the fresh water will dilute any minor ammonia spike.
- The Golden Rule: Never replace all filter media at once. Your biological media (ceramic rings, lava rock, bio-balls) is where most of your beneficial bacteria live. It should only be gently rinsed—and only when the flow of the filter becomes obstructed.
- How to Clean:
- Mechanical Media (Filter Floss/Sponges): Take the filter sponges and floss and swish them vigorously in the old tank water you just siphoned out. This dislodges clogged waste without destroying the bacteria living within the pores. Replace filter floss when it starts to fall apart.
- Biological Media (Ceramic Rings): Give them a gentle swish in the old tank water if they are overly dirty. They should not be spotless; a slight biofilm is good.
- Chemical Media (Carbon, Phosphate Removers): This is typically replaced every 2-4 weeks as it becomes exhausted, following the manufacturer’s instructions.
Step 6: The Final Touches
- Refill the Tank: Slowly pour the prepared, temperature-matched new water into the tank. Pouring it onto a plate or saucer placed on the substrate prevents the water from disturbing the gravel and uprooting plants.
- Plug Back In: Once the water level is restored, plug all equipment back in. Ensure the filter is primed and water is flowing correctly. Check that the heater is fully submerged before turning it on.
- Wipe Down: Use your aquarium-safe glass cleaner and a towel to wipe down the outside glass, the lid, and the light fixture to remove water spots and salt creep (in marine tanks).
Part 4: Special Considerations and Advanced Tips
Planted Tanks:
- Cleaning is less intensive as plants consume nitrate. Focus on glass cleaning and gentle vacuuming of open substrate areas.
- After a water change is the ideal time to add liquid fertilizers to replenish nutrients for the plants.
Saltwater Tanks:
- The process is largely the same but requires extra precision. You must mix synthetic salt into the new water 24 hours in advance using a powerhead and heater to ensure it is fully dissolved and at the correct temperature and salinity. Use a refractometer to check the salinity of the new water matches the tank.
- Protein Skimmers: These should be cleaned regularly. Empty the collection cup and clean the neck of the skimmer weekly.
Controlling Algae Long-Term:
Algae blooms are a symptom of an imbalance, not the cause. To control it, address the root cause:
- Excess Light: Reduce your photoperiod to 6-8 hours per day.
- Excess Nutrients: Feed your fish less, perform more frequent water changes, or add more fast-growing plants to outcompete the algae.
- Phosphates/Silicates: These can leach from tap water or certain substrates. Use a phosphate remover or consider using Reverse Osmosis (RO) water for changes.
The “Why” Behind the “What”:
- Why use old tank water to clean filter media? Chlorinated tap water would kill the beneficial bacteria.
- Why temperature-match new water? A sudden temperature change of more than 2-3 degrees can stress fish, suppressing their immune systems and making them susceptible to disease.
- Why not deep-clean everything at once? It would destroy the established biofilter, leading to a dangerous ammonia spike.
The Rhythm of Maintenance
Cleaning your fish tank is not a sporadic chore to be dreaded. It is a regular rhythm, a vital part of the ongoing conversation between you and your aquatic ecosystem. By approaching it with knowledge and care, you transform it from a task into an act of stewardship.
A consistent, well-executed maintenance routine is the ultimate preventive medicine. It results in crystal-clear water, vibrant fish displaying their natural behaviors, healthy plant growth, and, ultimately, a stunning living landscape that provides endless fascination and tranquility.
The simple act of wielding a gravel vacuum is, in truth, the practice of upholding an entire world. The reward for this diligence is a thriving, sustainable aquarium that is a joy to behold.
This other amazing post, “The Definitive Guide to Cat Scratching Solutions: Saving Your Sofa and Your Sanity”, might interest you. Check it out!
I hope you enjoyed this article, which focuses on “The Art of the Clean Aquarium: A Comprehensive Guide to Pristine Water and Thriving Fish”. You can share your thoughts and experiences with me in the comments section.